|

Help The Farm Grow!
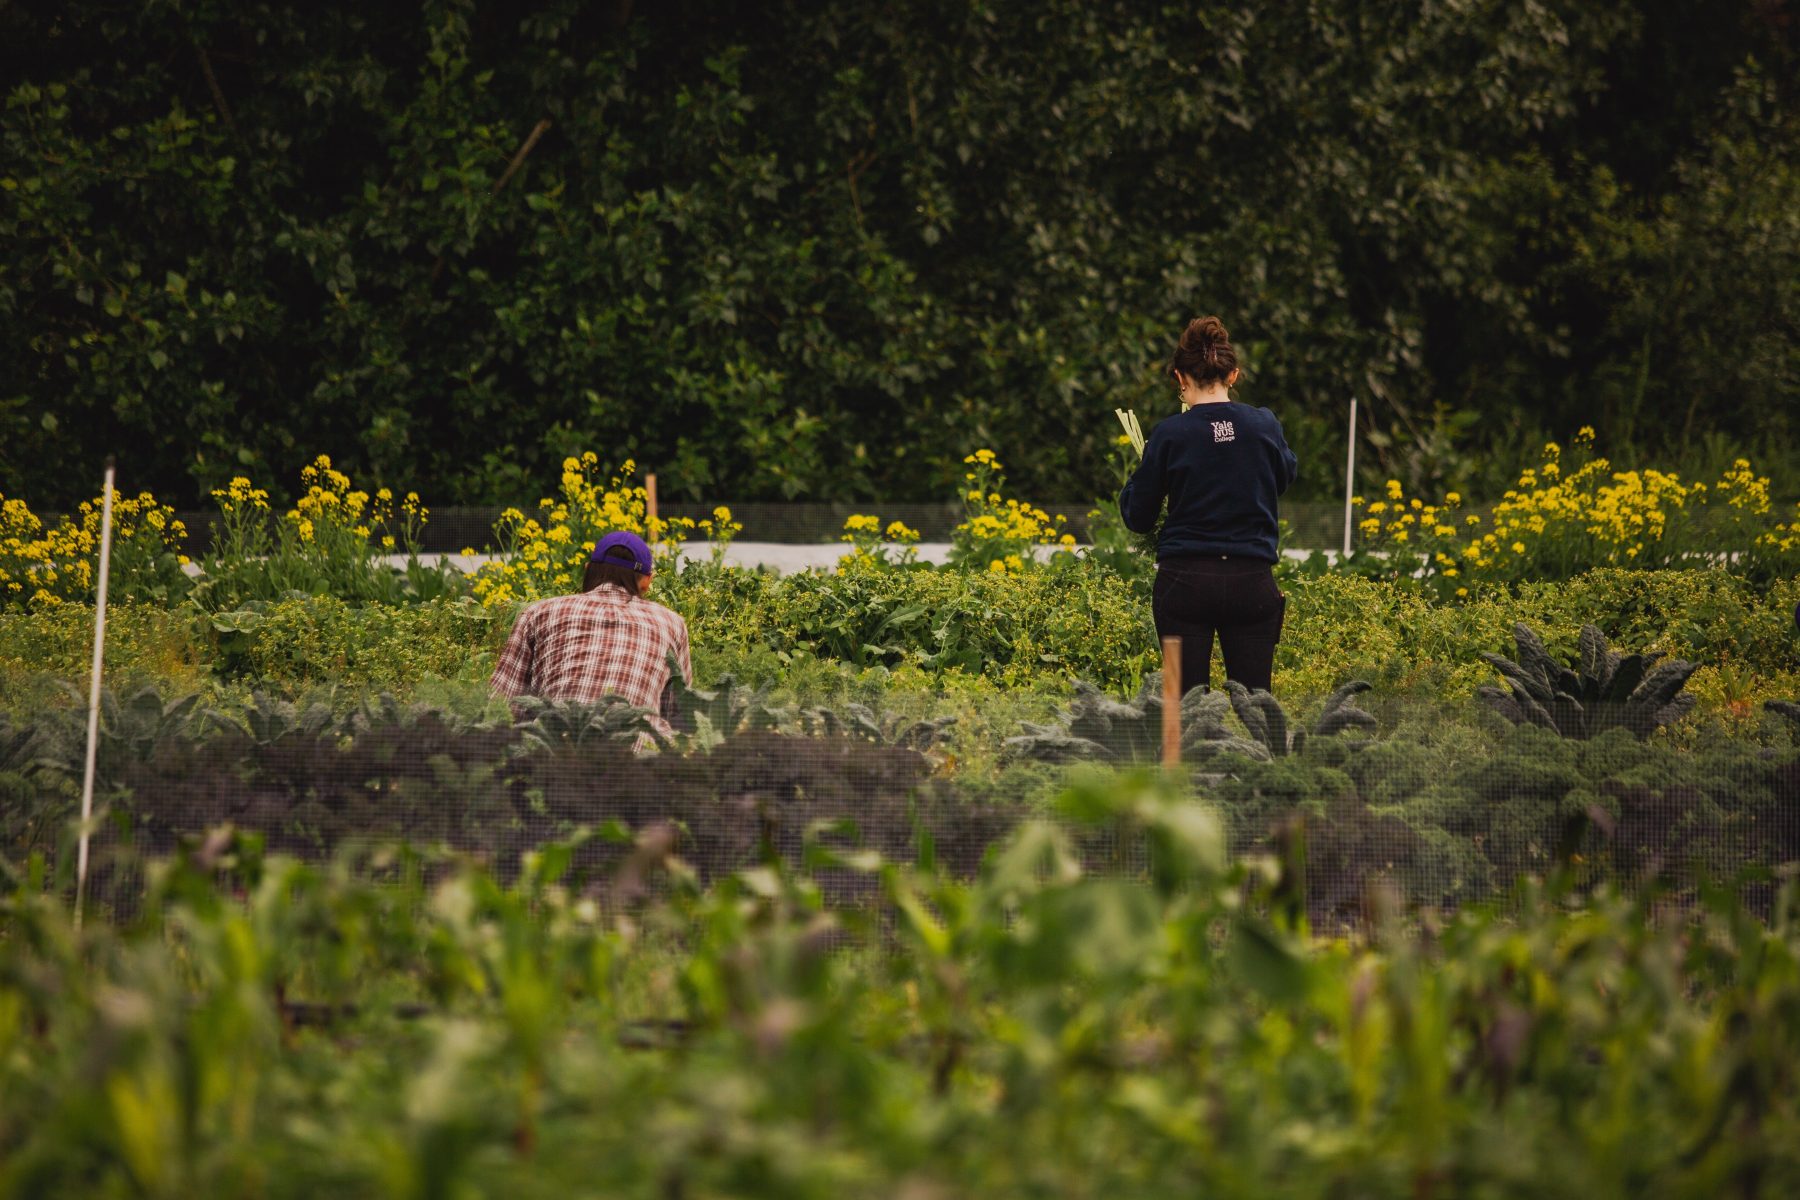
Every year, we have the capacity to grow more food and increase our educational and research program at the UW, but not without your support. Every contribution goes to work immediately, helping us better serve students. Your support can sustain our momentum and help seed new opportunities for student internships, academic work, and future growth. Please consider making a gift to the Farm online
|

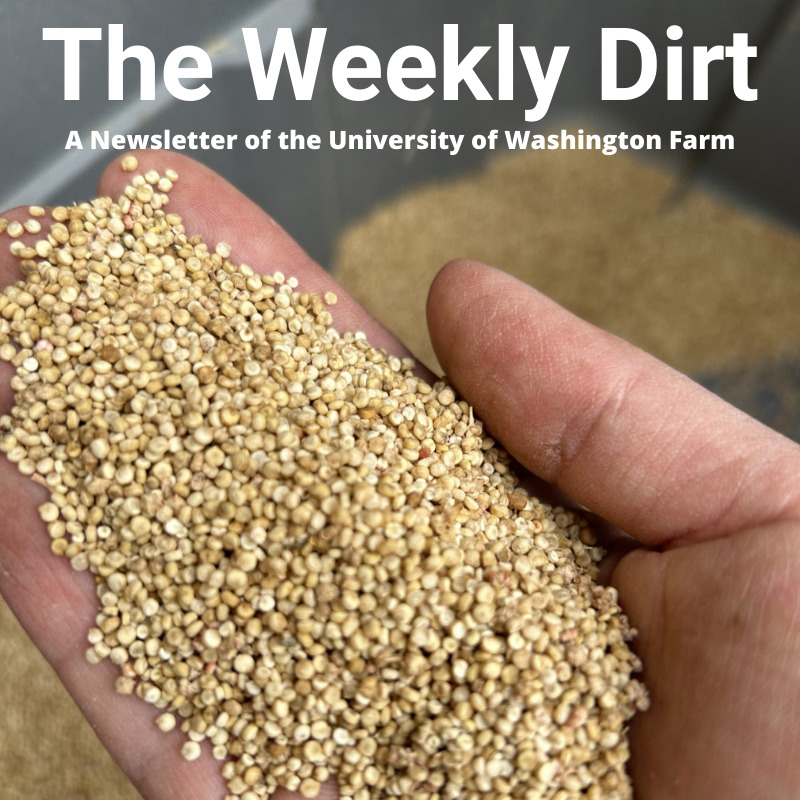
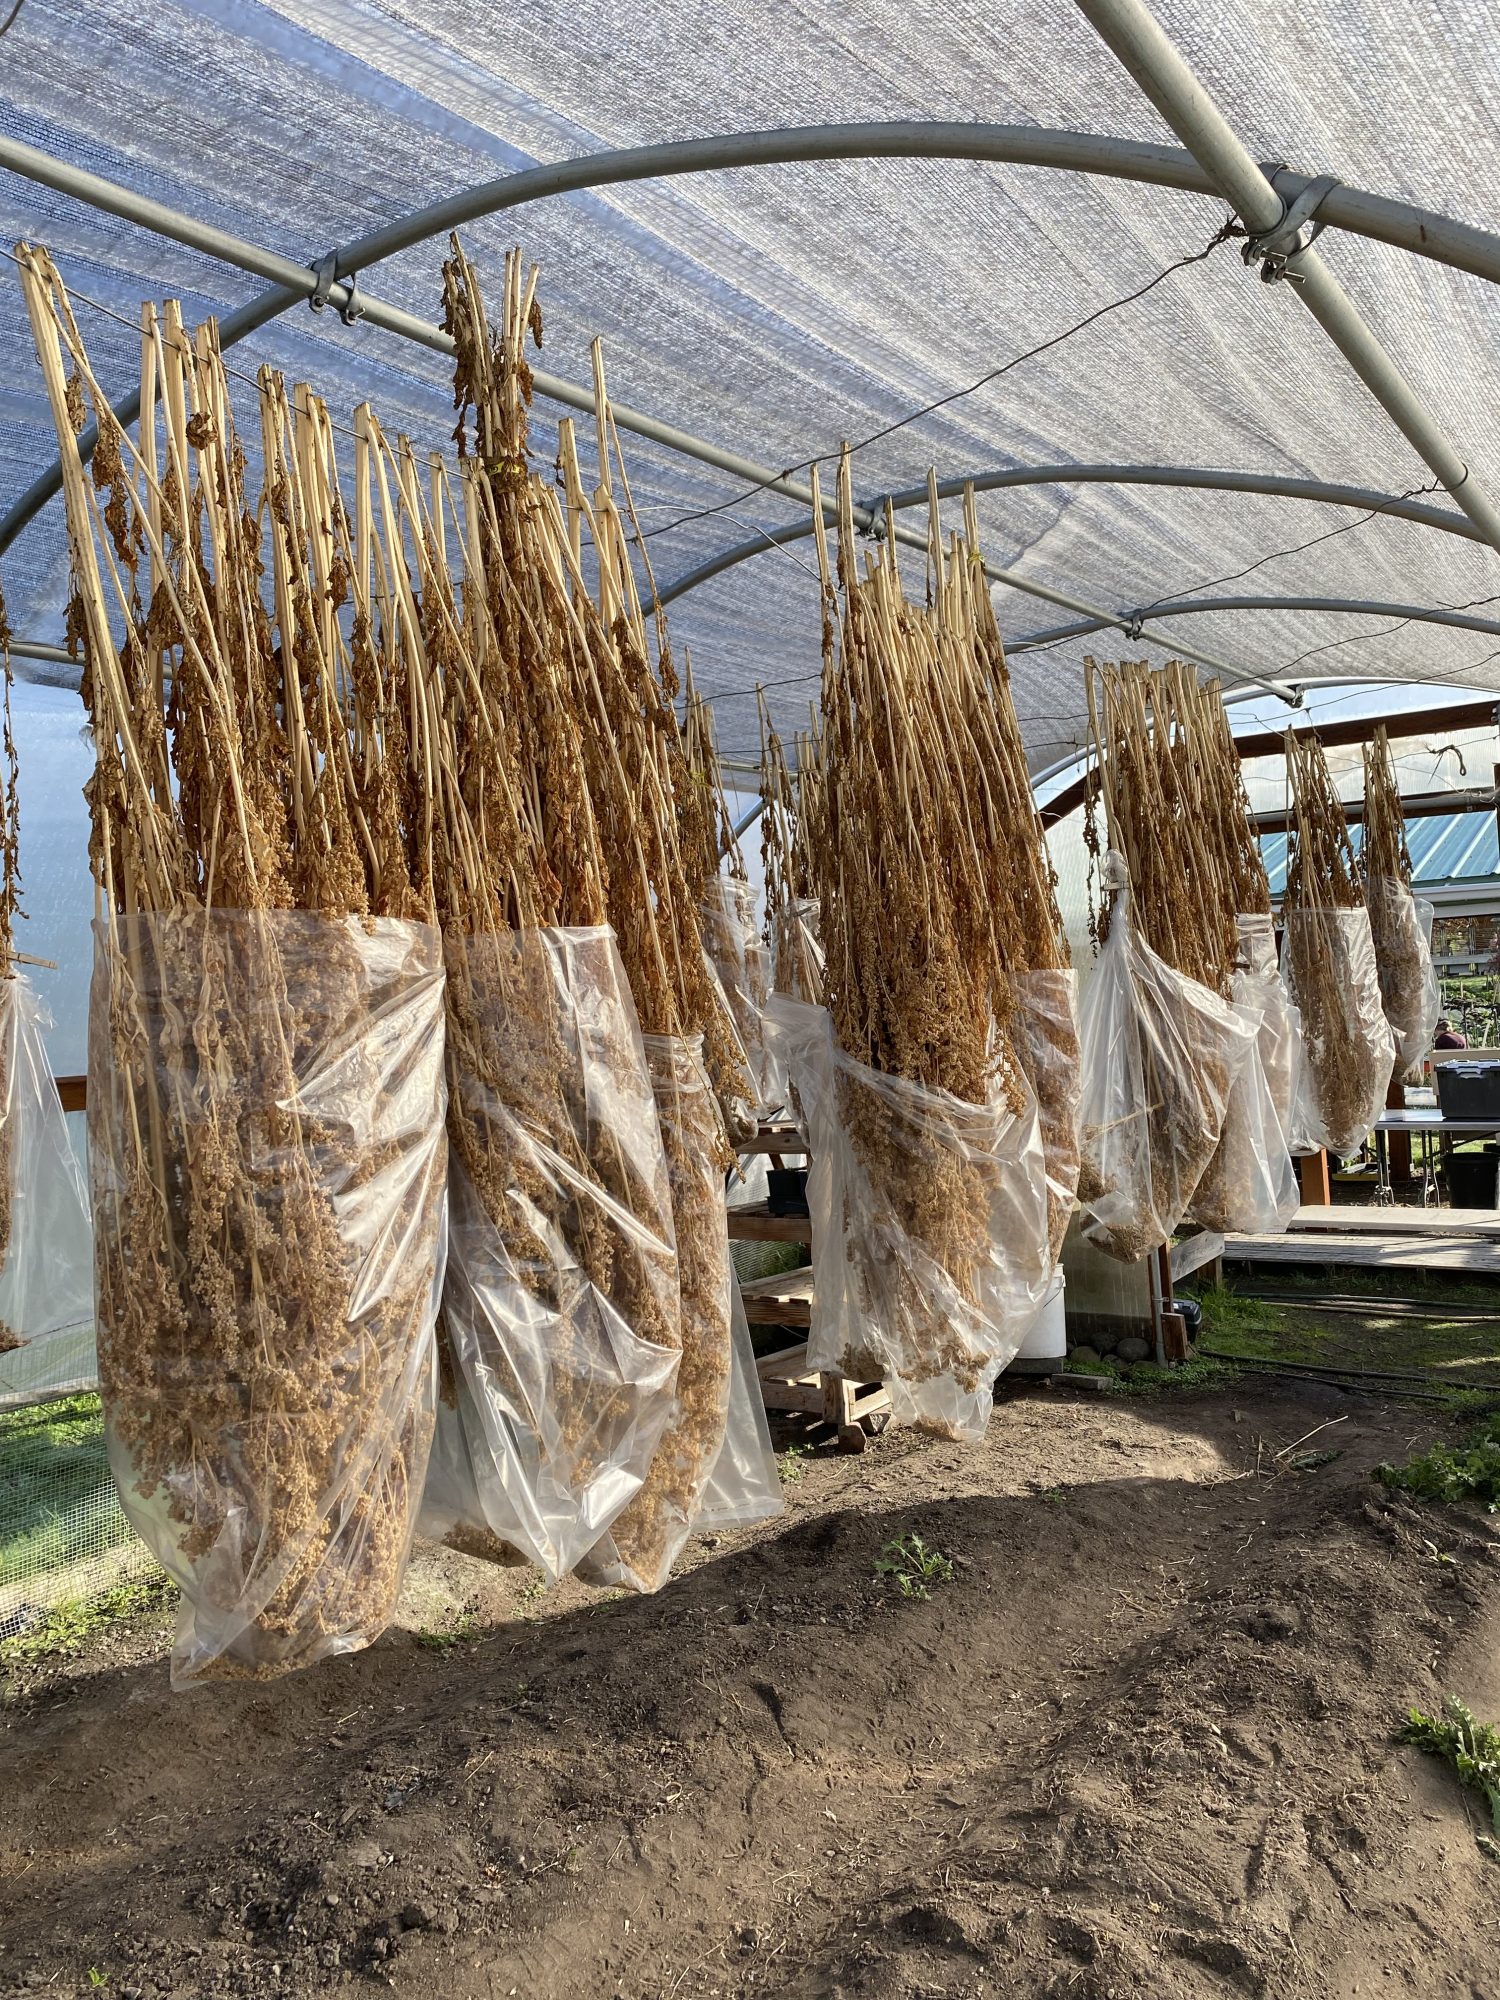 een the stalks of pink and green was an experience I can only describe as majestic. As the days grew warmer, the flowering parts of our quinoa plants began to turn from pink to brown, and we knew our quinoa was about ready to be harvested.
 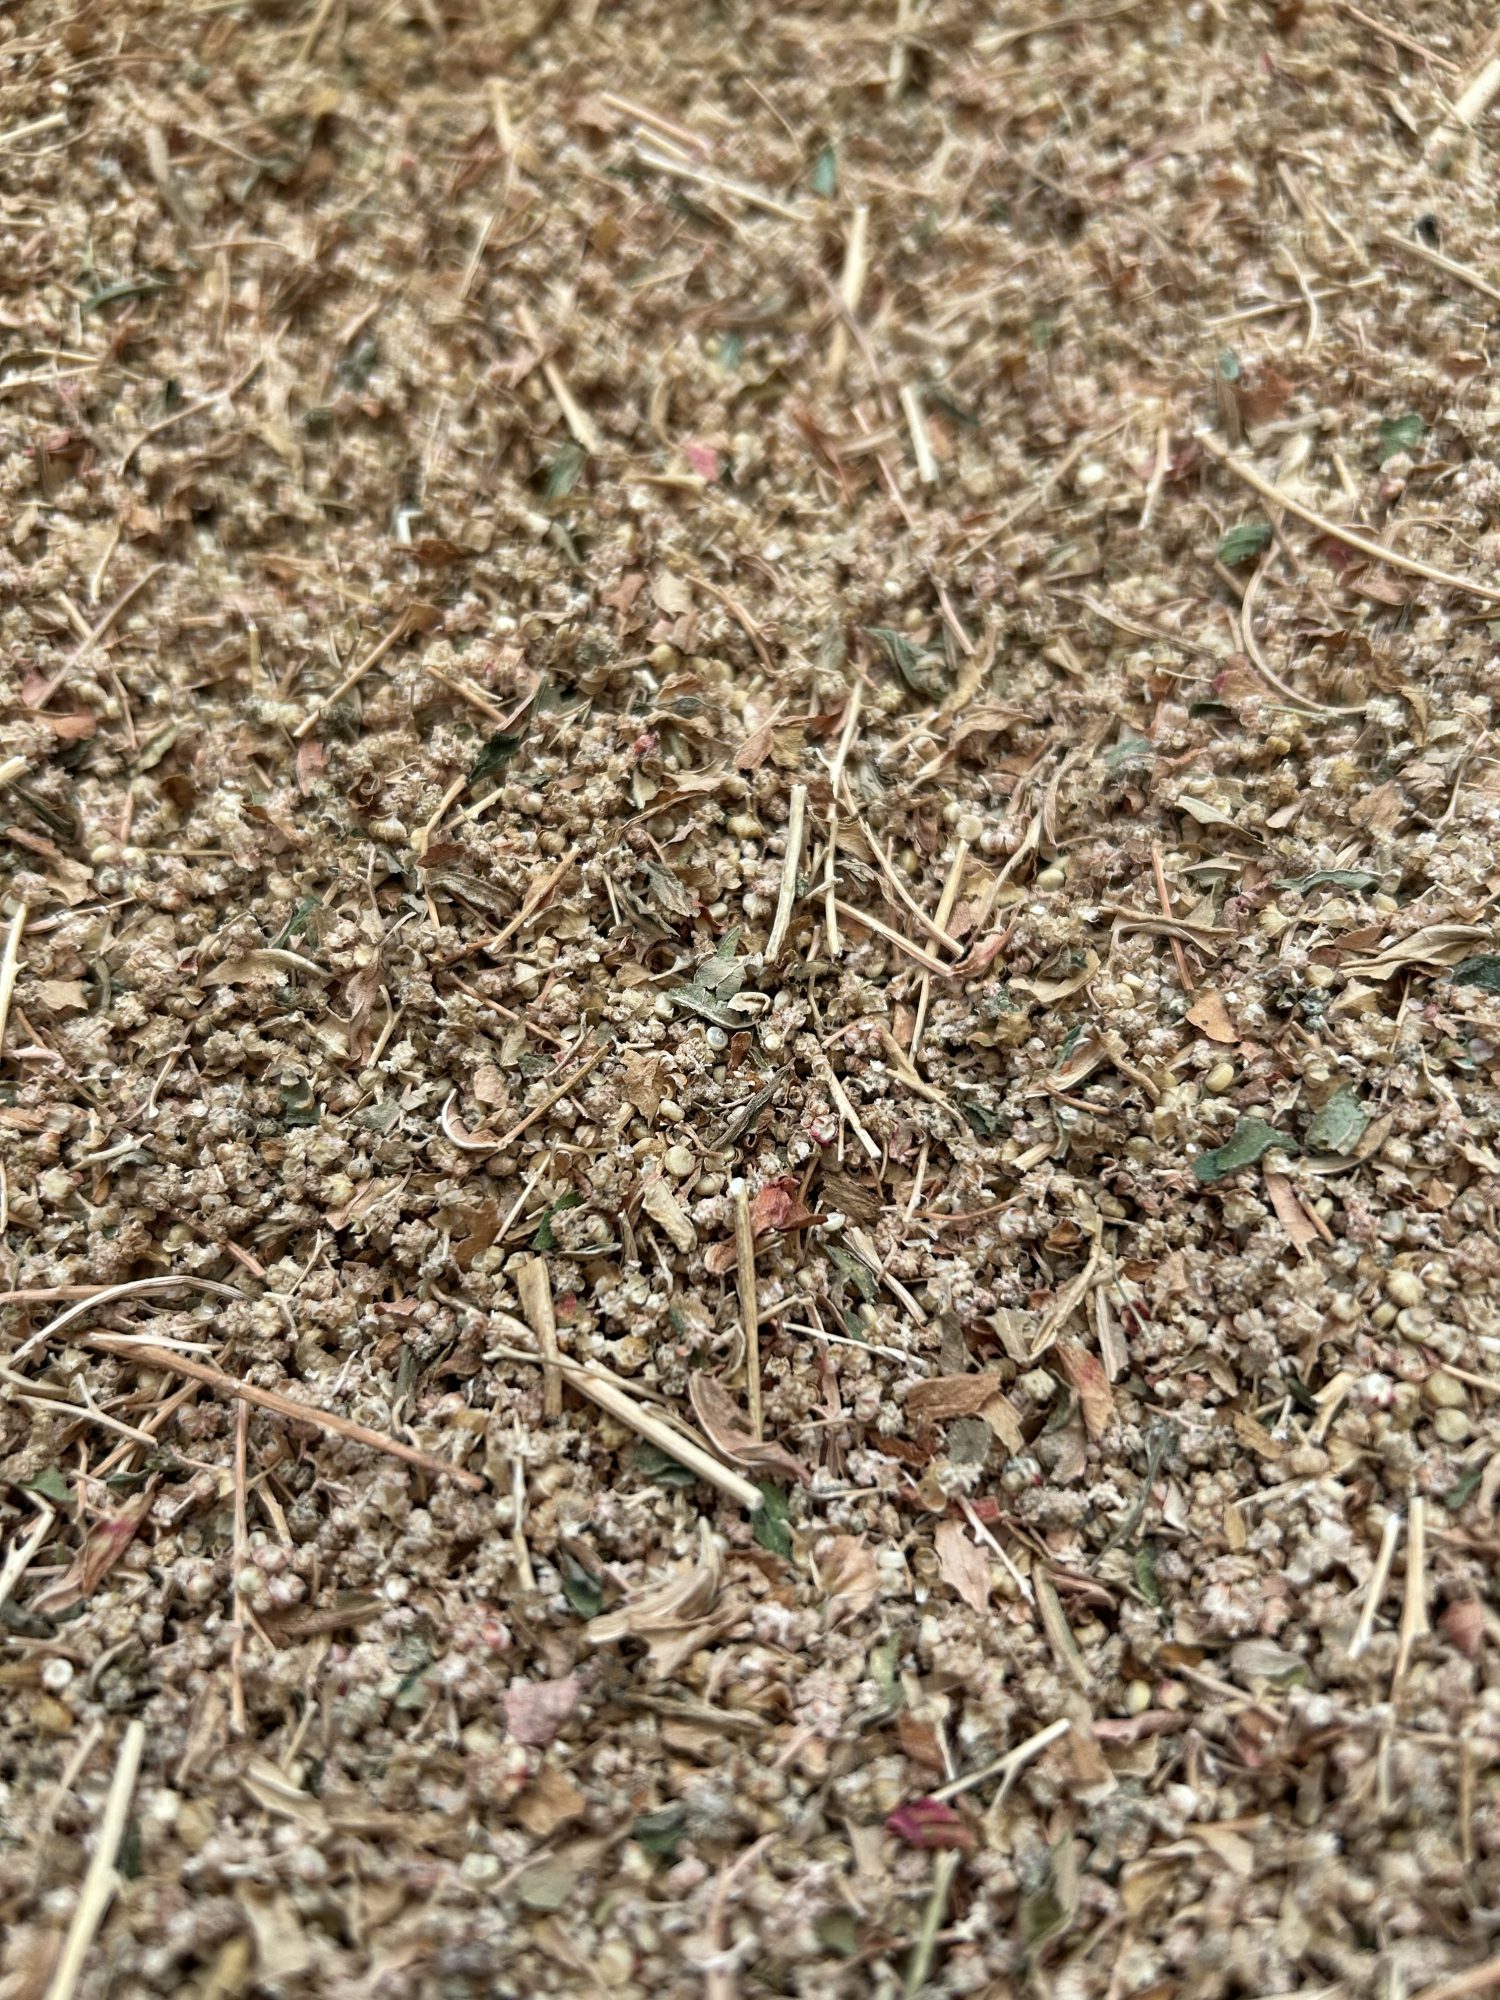 process.
 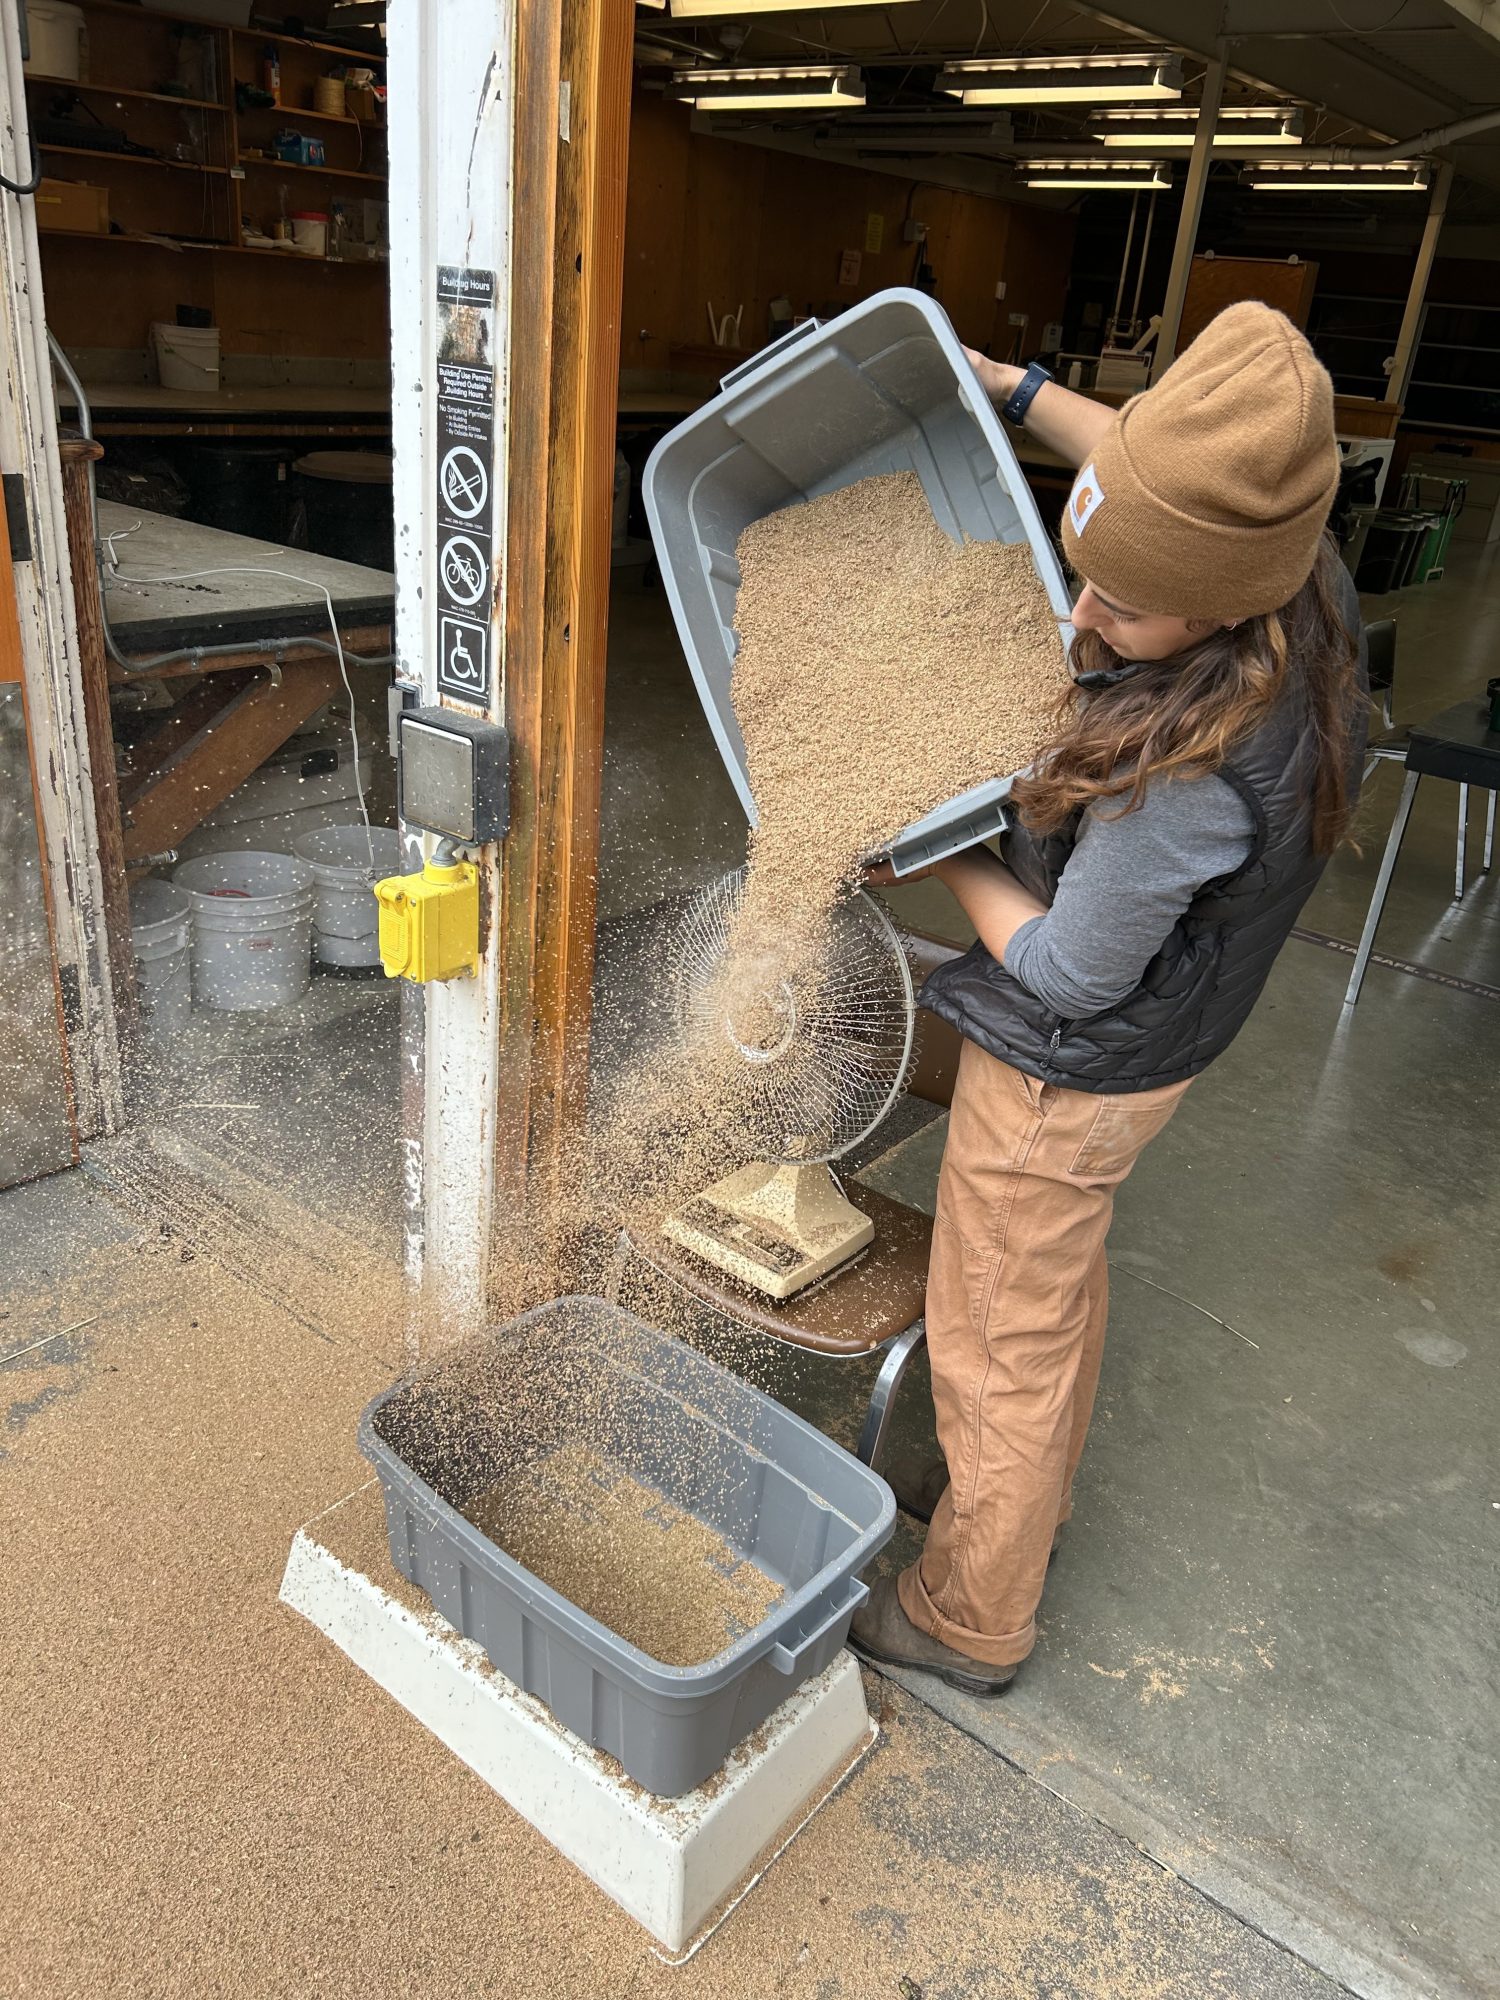 we felt confident that we had removed as many seeds from the chaff as we possibly could, we moved onto the winnowing step. Winnowing removes the chaff from the seeds. The best way to achieve this result is to utilize wind power and blow the chaff (which is much lighter in weight) off the seeds. To do this, we used fans and slowly poured our collection of seeds and chaff in front of a running fan (see photo right). Quinoa seeds are heavier than the chaff, and the fan will blow the lighter chaff away, so only seeds fall into the harvest tote below. We did this a number of times to ensure we separated as much chaff as possible.
 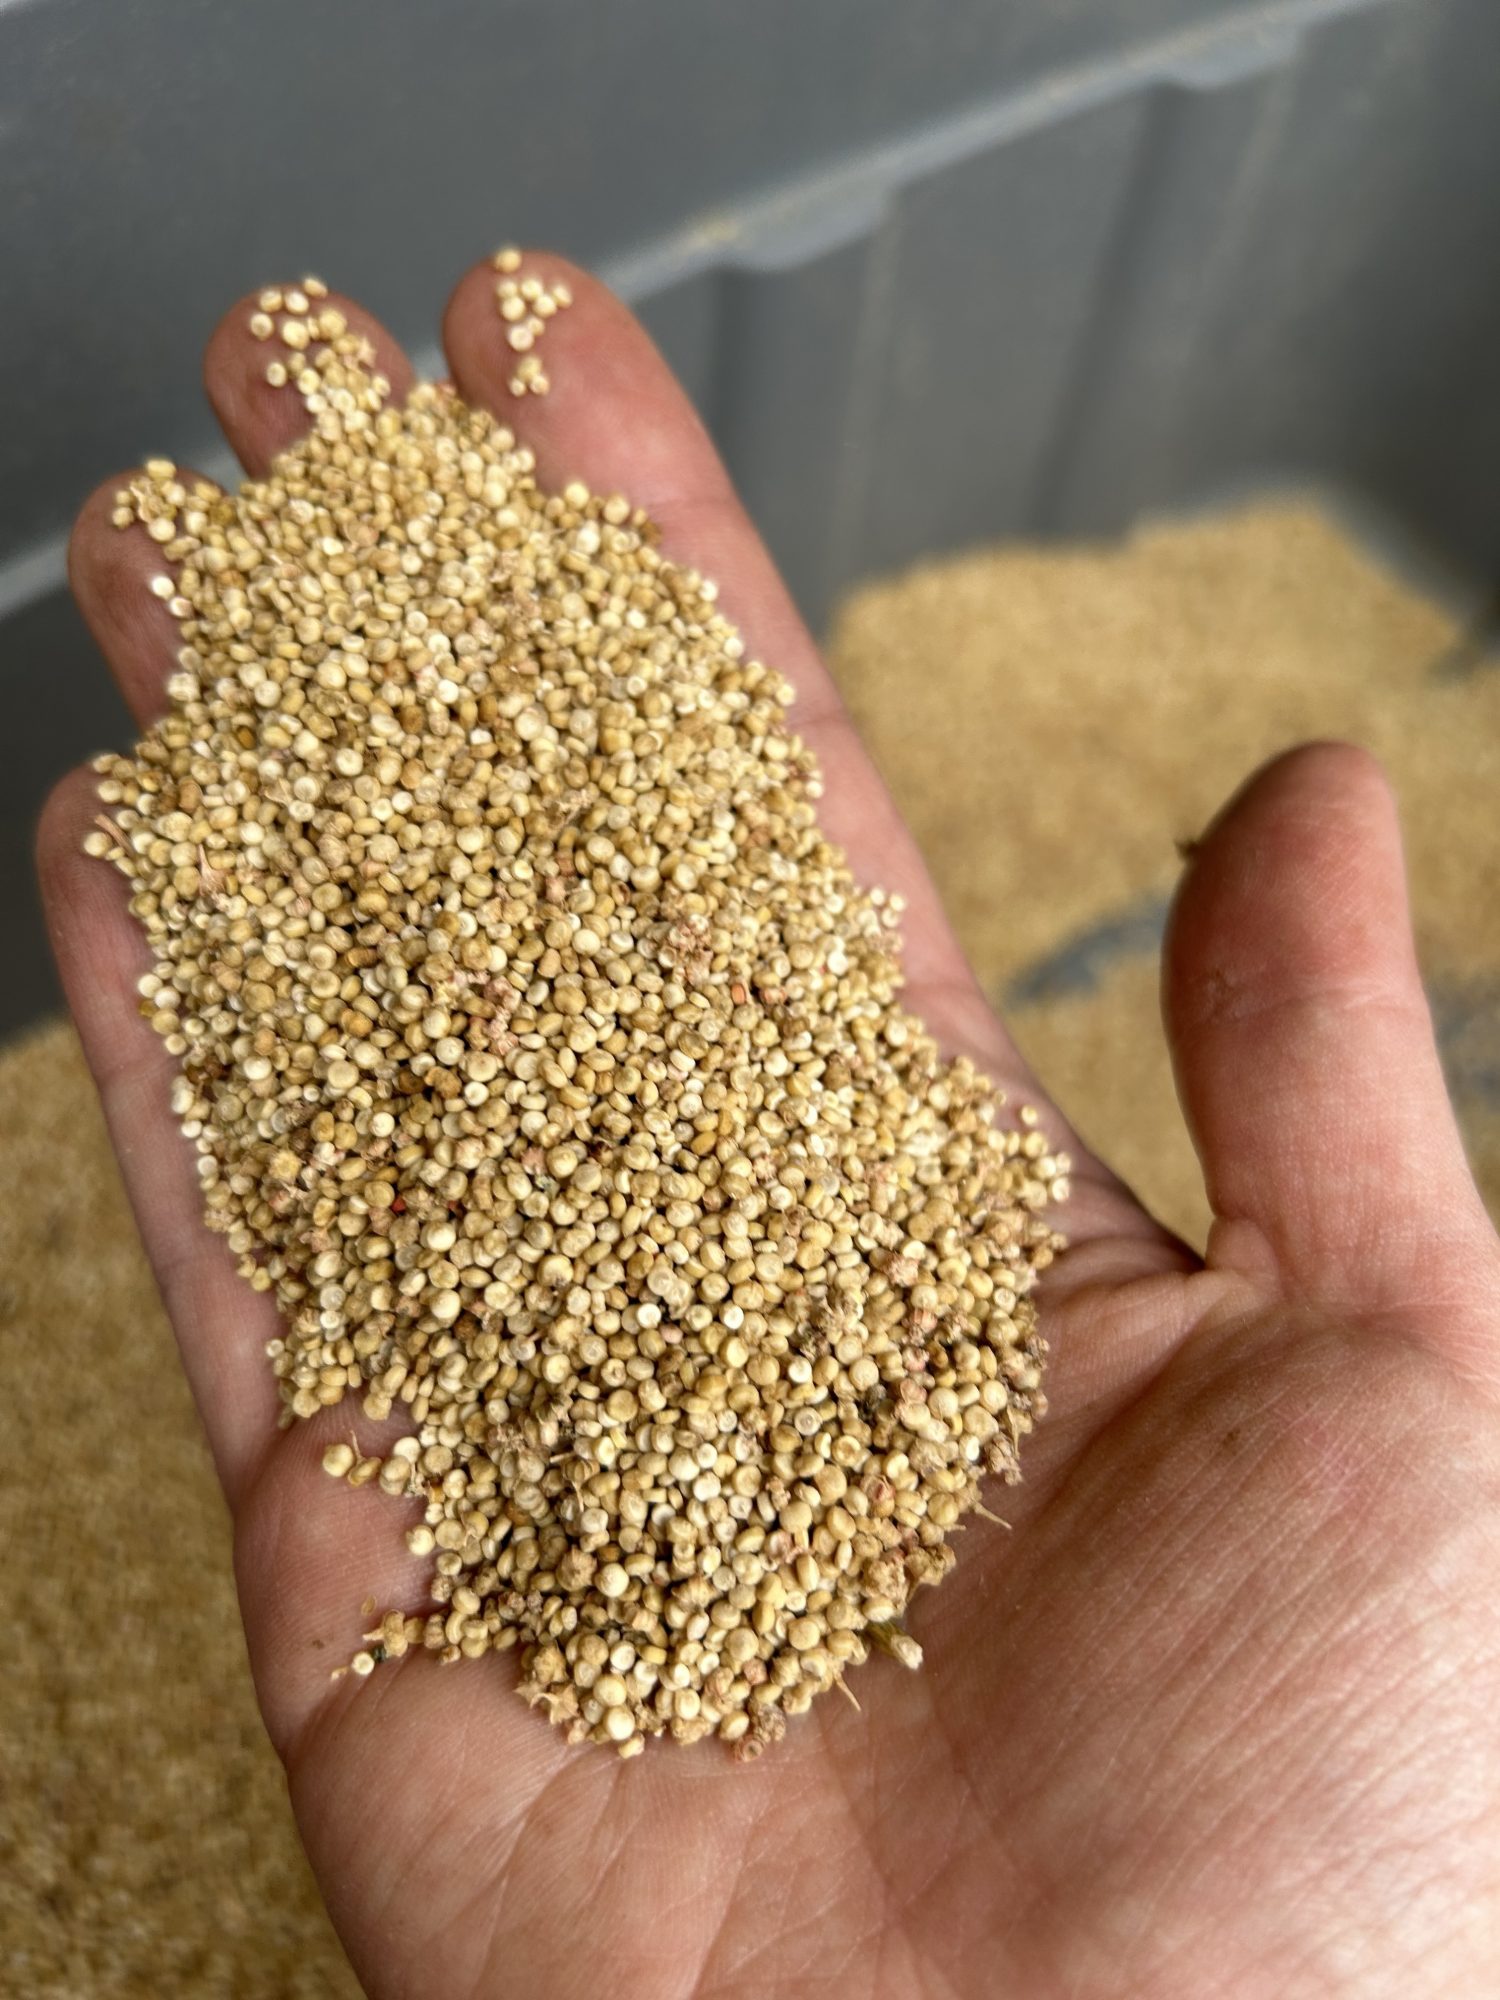 accurate than the hand-powered processes we completed. To make sure the quinoa is ready to eat, we recommend soaking the quinoa in a bowl of water right before cooking it. The seeds will absorb some water and sink to the bottom, and any remaining chaff or dust will float to the top. Once all the quinoa seeds have sunk to the bottom of your bowl, skim the surface of the water to remove the last of the chaff. Drain your water and add the quinoa to a pot of boiling water or your choice of stock. In 10-15 minutes you will have fluffy, home-grown, quinoa to enjoy in your favorite recipe.