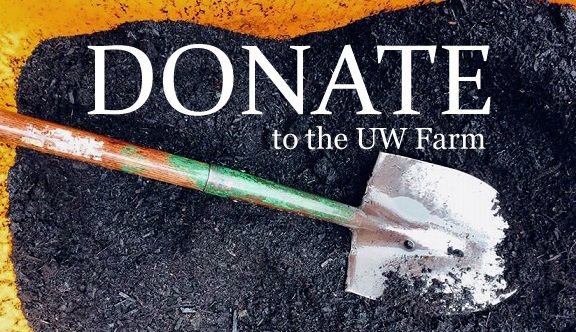
The Weekly Dirt 04.19.23


04.19.23

Around The Farm

By Audrey Sun, UW Farm Dani Elenga Organics Intern
 

Beginner's Guide to Sourdough 

Long time, no read! For those of you who don't know, my name is Audrey Sun and I am the former Fall Quarter Nutrition Education Intern and current Dani Elenga Organic Re-certification Intern. You might remember seeing some of the recipes I did for a pickling guide, charred cabbage, or even a festive winter squash stuffing. I am so excited to be back on the farm, sharing recipes, and writing to you for the 2023 season!

Before we dive into the sourdough guide I have some quick updates about how our organic re-certification is going. WSDA requires a renewal application each year to ensure that the UW Farm and similar organic growers are still keeping up to date with the requirements of organic growing. That includes using organic seeds, fertilizers, and many more strict practices. At the UW Farm we are currently growing fully organic certified and transitional crops!. Transitional is what we use to describe areas that are not yet WSDA certified but working towards being fully organic in a process that takes 3 years! There'll be a lot more organic updates but for now lets get sourdoughing!

This recipe is more of a loose guide to help beginners bake their first sourdough. 
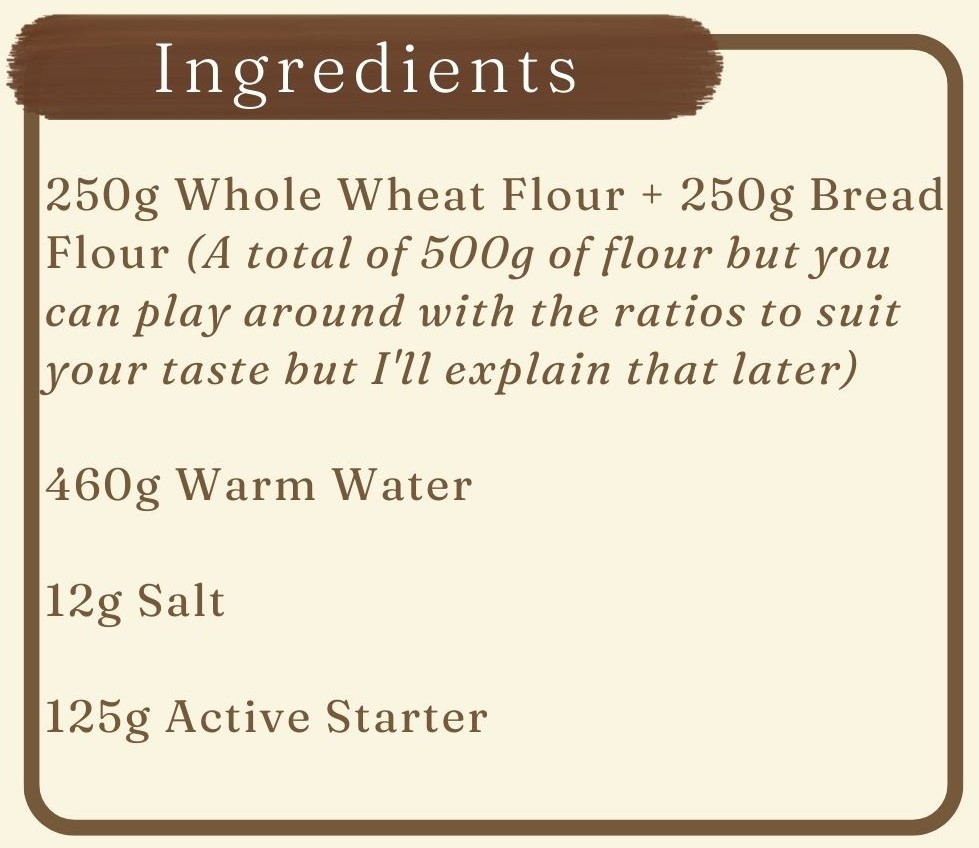
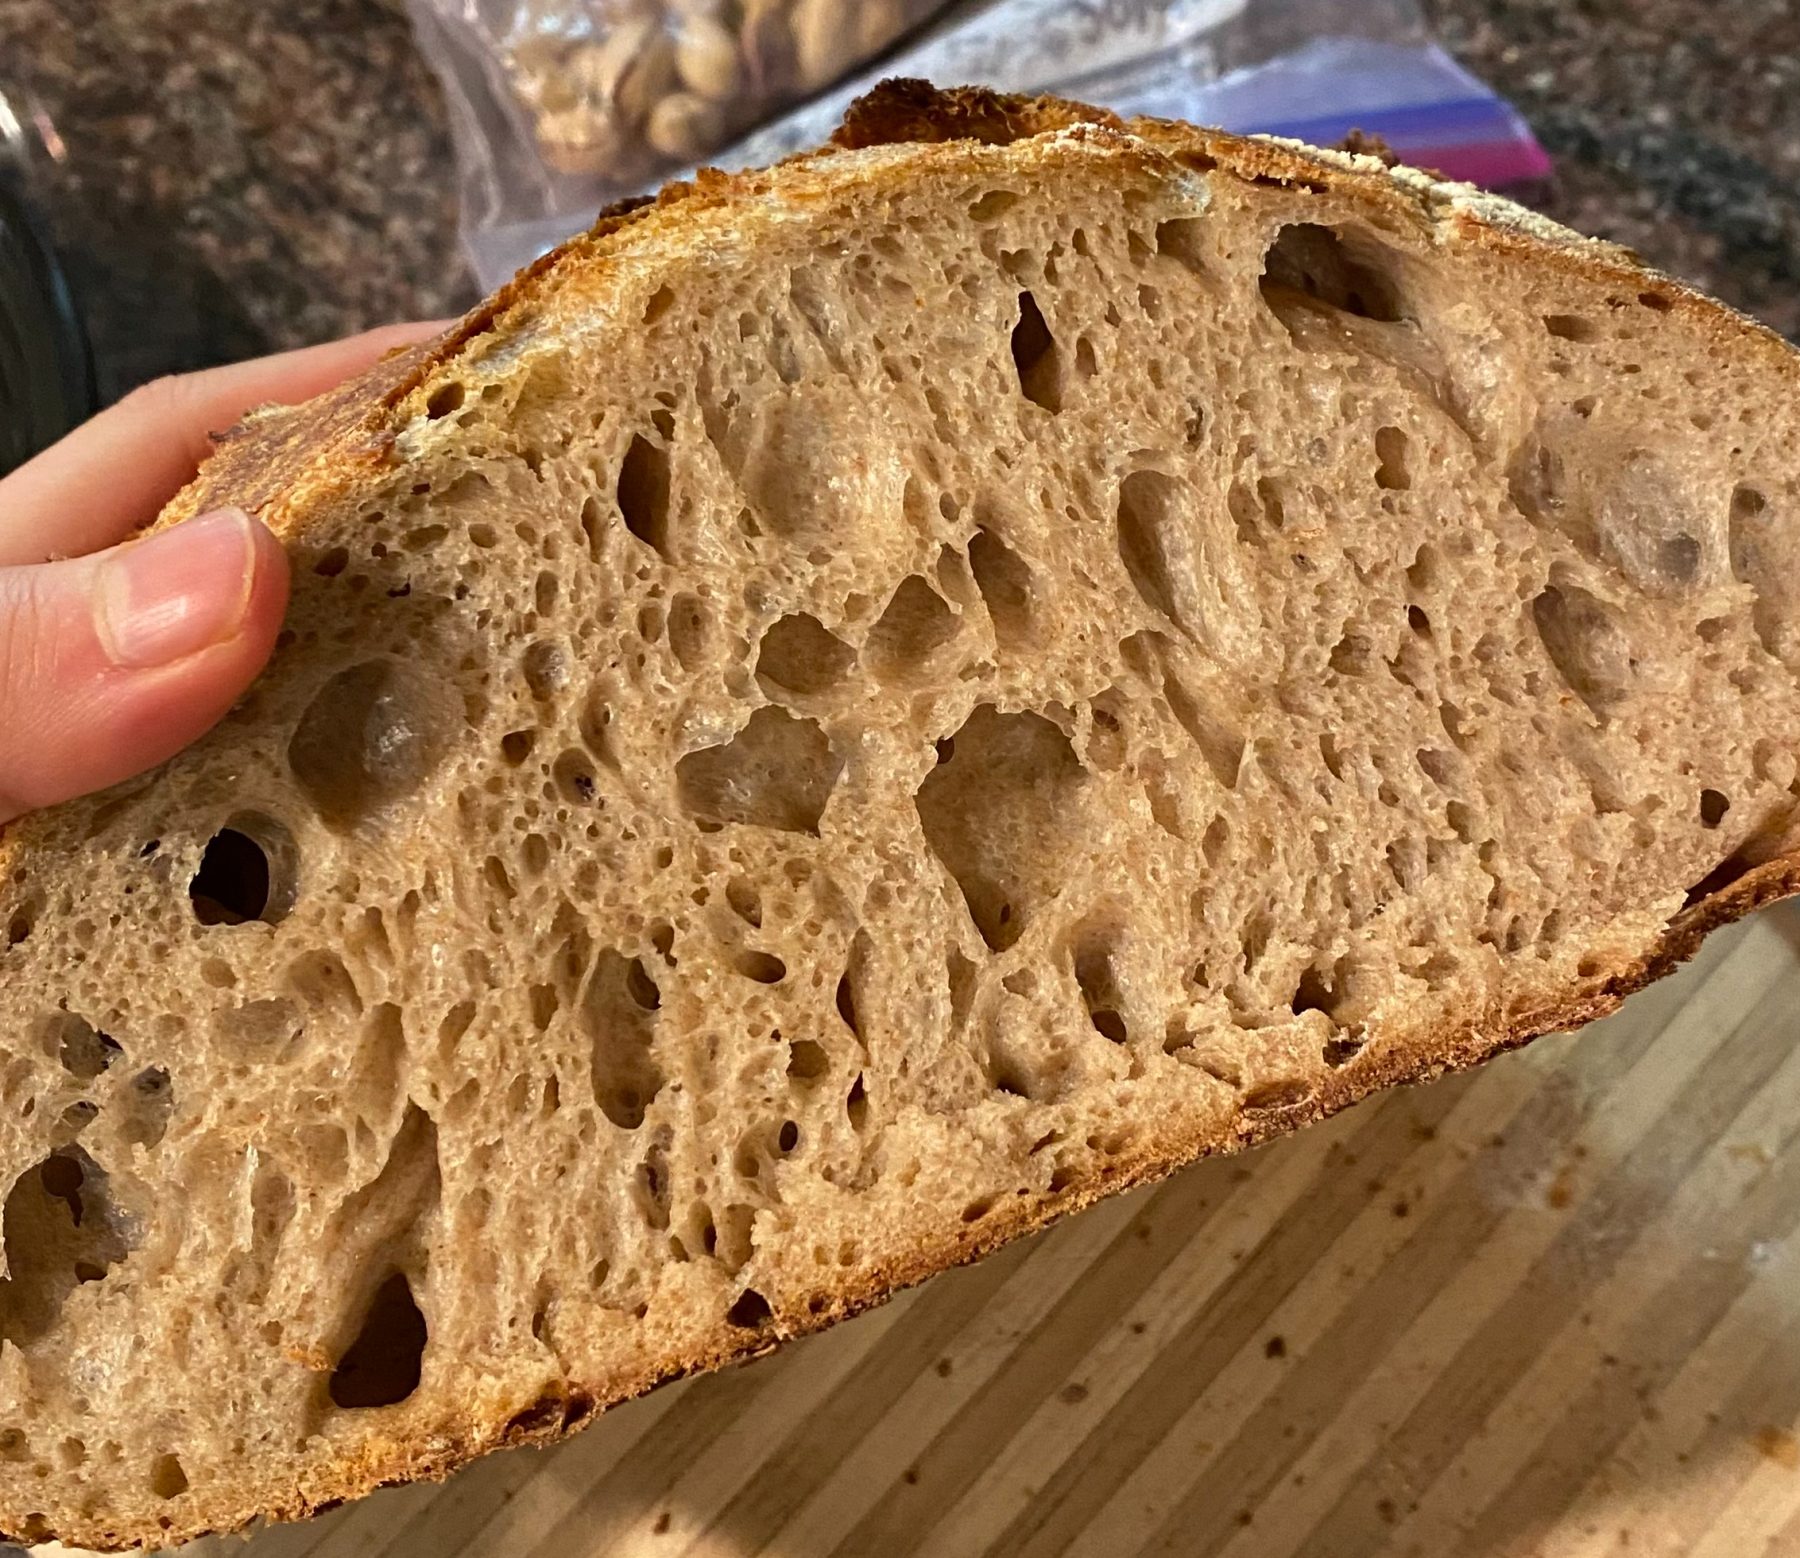
In my personal experience with sourdough, it helps to understand what is going on so you can adjust and adapt recipes to fit your preferences and environment. While some people believe that sourdough and baking as a whole is a precise science, I think its actually a lot more unpredictable and less rigid. 

The first thing you need to do for making a good sourdough is to have an active starter, there are many guides like this one that will teach you how to begin. Essentially, a starter is a mix of equal weights flour and water that ferments using the yeast and bacteria in the air of your home. The yeast consumes the sugars and carbohydrates of the flour and burps out carbon dioxide, creating bubbles. It takes about a month of constant feeding before you can use your sourdough. You are looking for a mellow yeasty smell to occur, you don't want it to smell sharp and alcoholic. During this process you may produce a lot of discard (the starter that you take out before feeding it again) but PLEASE do not throw it out. Most baking recipes can substitute amounts of flour and water for discard with virtually no affect to taste and there are lots of recipes that are written for this exact reason

Now, baking sourdough is a commitment but it is well worth the time and my process does not require you to be chained to the kitchen for a whole day. There will be many gaps where you will have a few hours to kill where you can go out and run errands or hang out. If you need a visual guide, I suggest watching this video which covers in-depth, start to finish, how to make sourdough. The techniques and exact ingredients are different but it is very helpful nontheless.

To check out recipe scroll down!


Recipe of the Week:


Homemade Sourdough

  1. In a medium bowl, mix your water and flours together until combined. You do NOT have to worry about making the dough smooth or creating gluten, as long as you don't see dry flour spots you are good. 
  2. Cover your bowl with plastic wrap and place it in a warm spot. As a Seatlelite, its important that you recognize whether your kitchen is warm enough to proof on the counter or if it needs to go in an oven with the light on. For most of the year, since it is too cold in my kitchen, I place a towel on top of my wrapped bowl and put it in the oven with the light on.
  3. Let rest for at least 1.5 hours, but up to 4. This part is called autolyse, it allows for the flour to absorb the water and for gluten to develop. Gluten is the protein in bread that gives it structure and allows your bread to rise. Many recipes go straight to adding starter but I find that doing this autolyse cuts down on mixing time, produces a better loaf, and gives me more time in my day. The amount of time you allow it to autolyse depends on how much whole wheat flour, if any, you use. Whole wheat flour is denser than bread flour so it requires more water and time to absorb. This website does a great job in helping you understand that.
  4. Sprinkle the salt onto your dough and mix thoroughly. I like to do this in great stretching movements with a spatula or my hands, scooping portions of the dough and stretching it to the sky to help develop more gluten. Once mixed in you can allow it to rest for half an hour. The salt does a few things; slows down the yeast so it doesn't eat all of the sugars in your dough before you've even baked it, promotes gluten strengthening, and of course gives it a nice color and flavor.
  5. Now add your starter in and mix in the same way. Here you can stop and do a windowpane test to check for gluten development, but I find that if you autolyse, this test is unnecessary. Cover again and place it back in the oven for 1.5 hours.
  6. The next part is referred to as stretching and folding. By stretching the dough you incorporate air to give your sourdough a wonderful light bouncy structure. I like to do this by taking my hands and on both sides of the dough and scoop the middle up so that I have two "tongues" coming out of my hands, and raising it up in the air. Then you allow it to gently stretch back down to the bowl and fold it onto itself. Then you rotate 90 degrees and repeat until you have completed 3 sets of stretches. This is a difficult concept to visualize so here is a short video showing how it is done. 
  7. Cover and allow it to rest in the oven for another hour before repeating. Do this for a total of 5 times or until the dough is nice and bubbly and jiggles if you shake the bowl slightly. It may require more or less than 5 times, but the dough should be about doubled in size. For beginners you can take a picture or mark the side of the bow with tape after the first stretch so you can reference.
  8. On a generously floured surface, gently scoop out your dough and allow it to rest. In the meantime, prepare a banneton, or a circular mesh colander (what I use) by lining it with cheese cloth and dusting it generously with flour. I like to use a mix of rice flour, all purpose flour, and cornmeal when I line. While unnecessary, drier grain flours like corn or rice have a greater capacity for water and will prevent sticking in the cheesecloth.
  9. Now, take your dough and fold it onto itself using a letterfold of thirds. This video here will help. Then starting from the short side of your dough, roll it like a burrito until you reach the end. Take this dough and seam-side up, place it into your colander, dust with more flour, and cover again with a kitchen towel. For one final proof, place it into the oven with the light on for an hour.
  10. After your dough has finished proofing, remove the towel and place the entire thing into a produce bag. This prevents it from drying out too much when you rest it in the fridge. 
  11. The bread will sit in the fridge overnight, or up to 3 days. The longer it sits the more sour it will get so adjust to preference.
  12. An hour before baking, place a dutch oven with a lid in the oven at 500F. I like using a full cast iron dutch oven because enameled ones tend to lose their color and darken when put in such high temperatures. You can find these for around 20 dollars on Facebook Marketplace, thrift stores, and other second hand vendors. 
  13. Finally, just before baking take your dough out the fridge, flip it seam-side down onto a lightly floured surface and score with a razor or sharp knife. You can be as complicated as you want or just do a simple X. Carefully take the hot dutch oven out and place your loaf inside, covering and putting back in the oven. Bake for 20 minutes before turning the heat down to 450F and baking till your desired color, I go for about 15 minutes or a golden brown. 
  14. Take your finished boule (a fancy word for sourdough loaf) and allow it to rest for an hour or completely cooled. This resting time is IMPERATIVE, if you cut the bread before it is fully cooled you will release all the steam before its reabsorbed and be left with a gummy chewy loaf. Enjoy the fruit of your labor with some butter or as the base for a delectable sandwich

Sourdough truly is a labor of love, but with time, trial and error, you can make these pretty easily whenever you'd like. Don't be discouraged if you don't get it right the first time or even the tenth, it took me a full month of regular baking to "perfect" my boule. If you have any questions at all I urge you to watch and read the many resources I have linked in this article, but I am also more than happy to give you any advice or possible troubleshooting (I cannot guarantee it will work as I am not a professional, just a passionate cook). My emails is asun565@uw.edu. Happy baking!

News and Noteworthy:

UW Farm Hosting Special Events for Earth Day

Plantings and a Ladybug Release Party will occur over two days!
To learn how to sign up visit the Volunteer Schedule page here


The SER-UW Native Plant Nursery's public plant sale catalog is now live!

Online Pre-orders – April 10th through April 21st 

In-person Sale and order pickup – Saturday, April 22nd from 11 am to 1 pm at the Center for Urban Horticulture 

Links to the Sale Catalog + Sale Webpage

Direct questions to sernursery@gmail.com 

TCCA Veggie Fest, Food, Fun, and Fundraising!

For more information check out their webpage

UW Farm and Dirty Dozen RSO Plant Sale May 20th

Come out and support UW student farmers in their annual plant sale at Center for Urban Horticulture.

Enjoy plants, music, games and more!

Career Opportunities in Agriculture & Food Systems:

photo of 2 pitchforks in the ground with someone's shoe behind them. This is taking place in a garden plot.

Food Access Resources

The UW Farm donates regularly to the UW Food Pantry. During peak season we also donate to nearby food banks. The links below are resources to help you or someone you know with food access.  

Help The Farm Grow!

Every year, we have the capacity to grow more food and increase our educational and research program at the UW, but not without your support. Every contribution goes to work immediately, helping us better serve students. Your support can sustain our momentum and help seed new opportunities for student internships, academic work, and future growth. Please consider making a gift to the Farm online


The Weekly Dirt is produced once a week by the University of Washington Farm, a program of the UW Botanic Gardens, School of Environmental and Forest Sciences, College of the Environment. It is published nearly year-round for educational purposes and the majority of the content is written or contributed by students and farm staff.

This issue's contributors:

Managing Editor: Althea Ericksen, UW Farm Intern, Communications Coordinator
Around the Farm: Audrey Sun, UW Farm Dani Elenga Organics Intern

Contributing Editors: Perry Acworth, Farm Manager, Chrina Munn, AmeriCorps Volunteer 2022-23
Photo Credits: Perry Acworth. Other photos retrieved from the internet and noted in sections 

Copyright © 2023 The UW Farm, All rights reserved.

Our mailing address is:
The UW Farm
3501 NE 41st St, 
Seattle, WA 98105

On campus mailbox
Box 354115

NEW email address:
uwfarm@uw.edu